
 TerraPlan
Layers, groups and pages
Hide parts of the drawing with layers, keep items together as a group, and use pages for the crawl space, basement or site plan.
A busy plan is easier to work on when you can hide what you don't need, move related items as one, and split the job over more than one page.
Show or hide layers
- Tap Layers at the bottom right.
- Untick a layer to hide it: Utilities, Plumbing, Drainage, Repairs & zones, Site, Structure, Readings & cracks, Piers, Notes & dimensions or Photos (TerraCam).
- Tick it again to bring it back.
Walls and rooms always show. Hidden layers don't print either, so hide what the customer or the crew doesn't need to see before you export. The same box has Lock buttons for each layer. See Lock a dimension, an item or a layer.
Group items
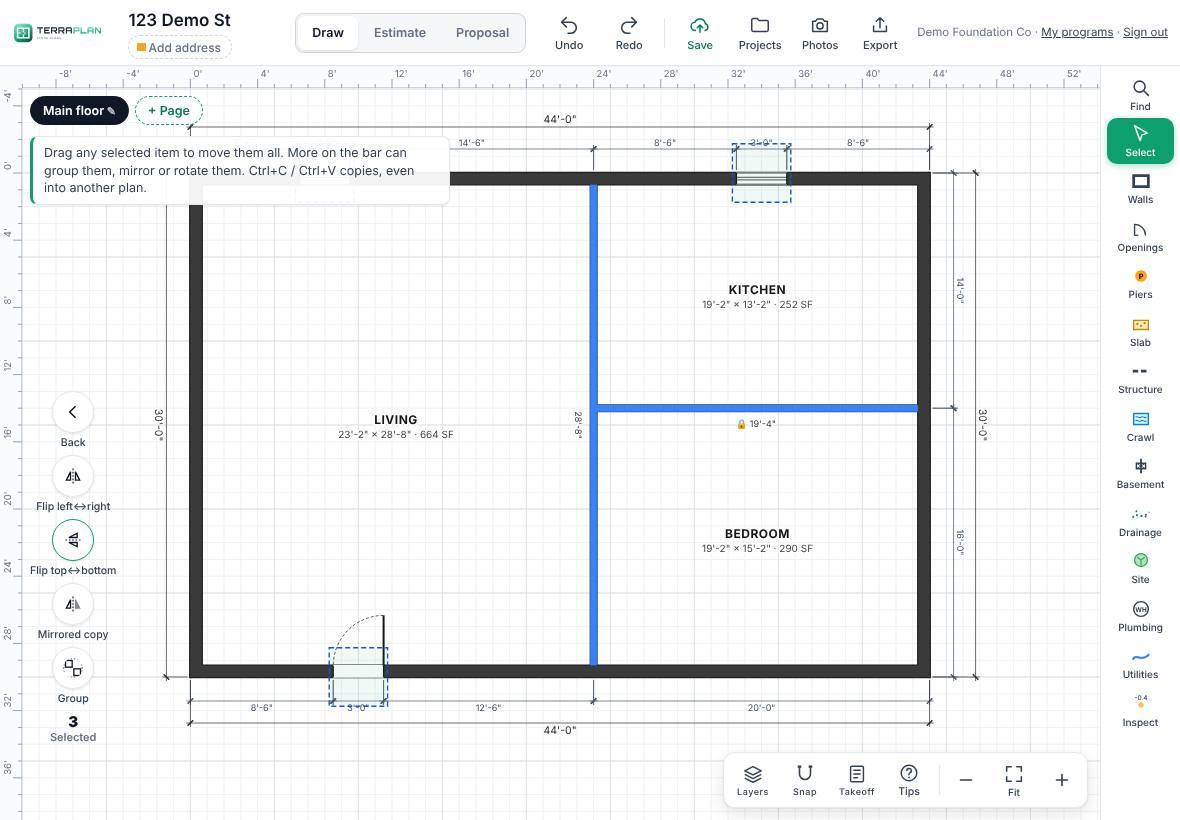
- With Select on, drag across empty space to select the items. Start the drag on bare paper outside the house: a press inside a labeled room picks up the room. (Left to right takes what's fully inside the box; right to left takes anything it touches.)
- Tap More on the selection column, then Group.
- Now a tap on any of them picks up the whole group. Drag one to move them all.
- To break it up, select the group, tap More, then Ungroup.
Use pages
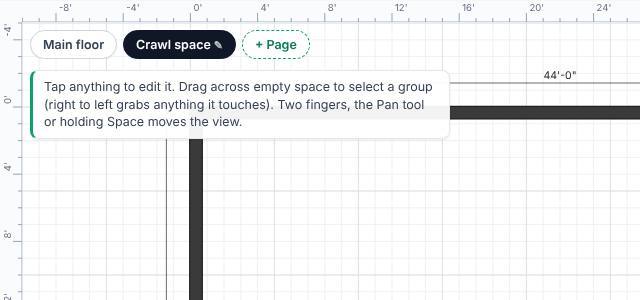
Each page is its own drawing in the same plan: Main floor, then a crawl space, basement, second floor or site plan.
- Tap + Page at the top left.
- Type the page name and confirm.
- TerraPlan asks if the new page should start with the outside walls from the page you're on. Floors and crawl spaces usually share the outline, so say yes for those.
- Tap a page's name to switch to it.
To rename or delete a page, tap the name of the page you're on (it shows ✎). Type a new name, or clear the name and confirm to delete the page and everything on it.
Thanks for letting us know.
Still need help?
Send us a message and a real person on the Terralox team will get back to you, usually the same business day.